So I am in need of a good vent. And because I'm pretty sure no one visits this blog, here I go...
I am trying to loose some weight before my wedding which is two and 1/2 weeks left. No, I do not have a lot to loose but I do have some. All it would take is getting moving more and eating less and a bit better. I'm kind of doing both...but then we order pizza. Pizza is my weekness I cannot seem to resist it. So today I did better than normal and only had one and half pieces but i still feel like I failed. I don't know how to eat, food options for dinner or lunch. Everytime I think something is right it is gross or someone else says its bad. AHHHHHHHHHH!!!!!!!!!!
Seriously who is right who is wrong! I just want to eat right.
Okay, I want to dance again but where. I am an advance dancer and now that I graduated there is no where to go. I just feel like I'm mushy and fat. GRRR and seriously the gym, ya not fun.
Okay i'm done cause otherwise I will be repeating myself over and over again. SOOOOO Frustrated!
Sorry for anyone who did read this, its a pretty sucky post.

Wednesday, June 1, 2011


Tuesday, May 24, 2011
"Our Wedding Day" Frame
A successful morning of garage sale shopping resulted in many new crafts. As I am increadably bad at remembering to take a picture of the materials and original items before I start making my new crafts (I'm just too excited for the end result!) I have a kind of pre-work picture.
I started with a green frame that held the lovely picture on the left. I was debating whether or not to buy yet another frame (I have way too many as it is) and apparently I was standing and stareing at the frame way too long because the lady selling it said I could have it half off if I really wanted it. So I got my new frame for only one dollar! I was pretty excited because it is in such good shape and it is a big frame, which is hard to come by in my price range.

So I started by removing the insides and the glass and setting them aside. I then started to paint the green frame black. Two coats of paint and it was done.
Next (not pictured) I used mod podge to stick the scrap book paper to the old matte that came with the frame. To do this I lined up the paper glued it down, then flipped over the matte and used an razor blade to cut off the excess paper. I was sure to line up each section of paper so the words somewhat matched. Then I cut an oval piece of tan paper that I printed "Our Wedding Day, June 18th, 2011" on. It was then placed at the top to cover a not so great paper seam.
Next I made two paper flowers by cutting a spiral out of a square piece of paper and then winding it up.
Finally I put the frame back together and glued the flowers to the front of the glass.

Now I have a beautiful frame for a wedding picture! And the best part is that it only cost me about $3 for the supplies! Now I can't wait for our wedding so I can add a picture to the frame!
Dance Accessories
Last month my dance students performed in their year end recital. To a little extra to their costumes I made a few accessories.
For my 5 and 6 year olds I made shoe bows to be pinned to their shoe elastic. Their song was On The Good Ship Lollipop and they had a red, white, and blue costume. To make these bows I used three piece of ribbon, made a loop out of each piece then overlapped the three ribbons and glued them down in the center. Then I added three rhinestones to each for a little sparkle!
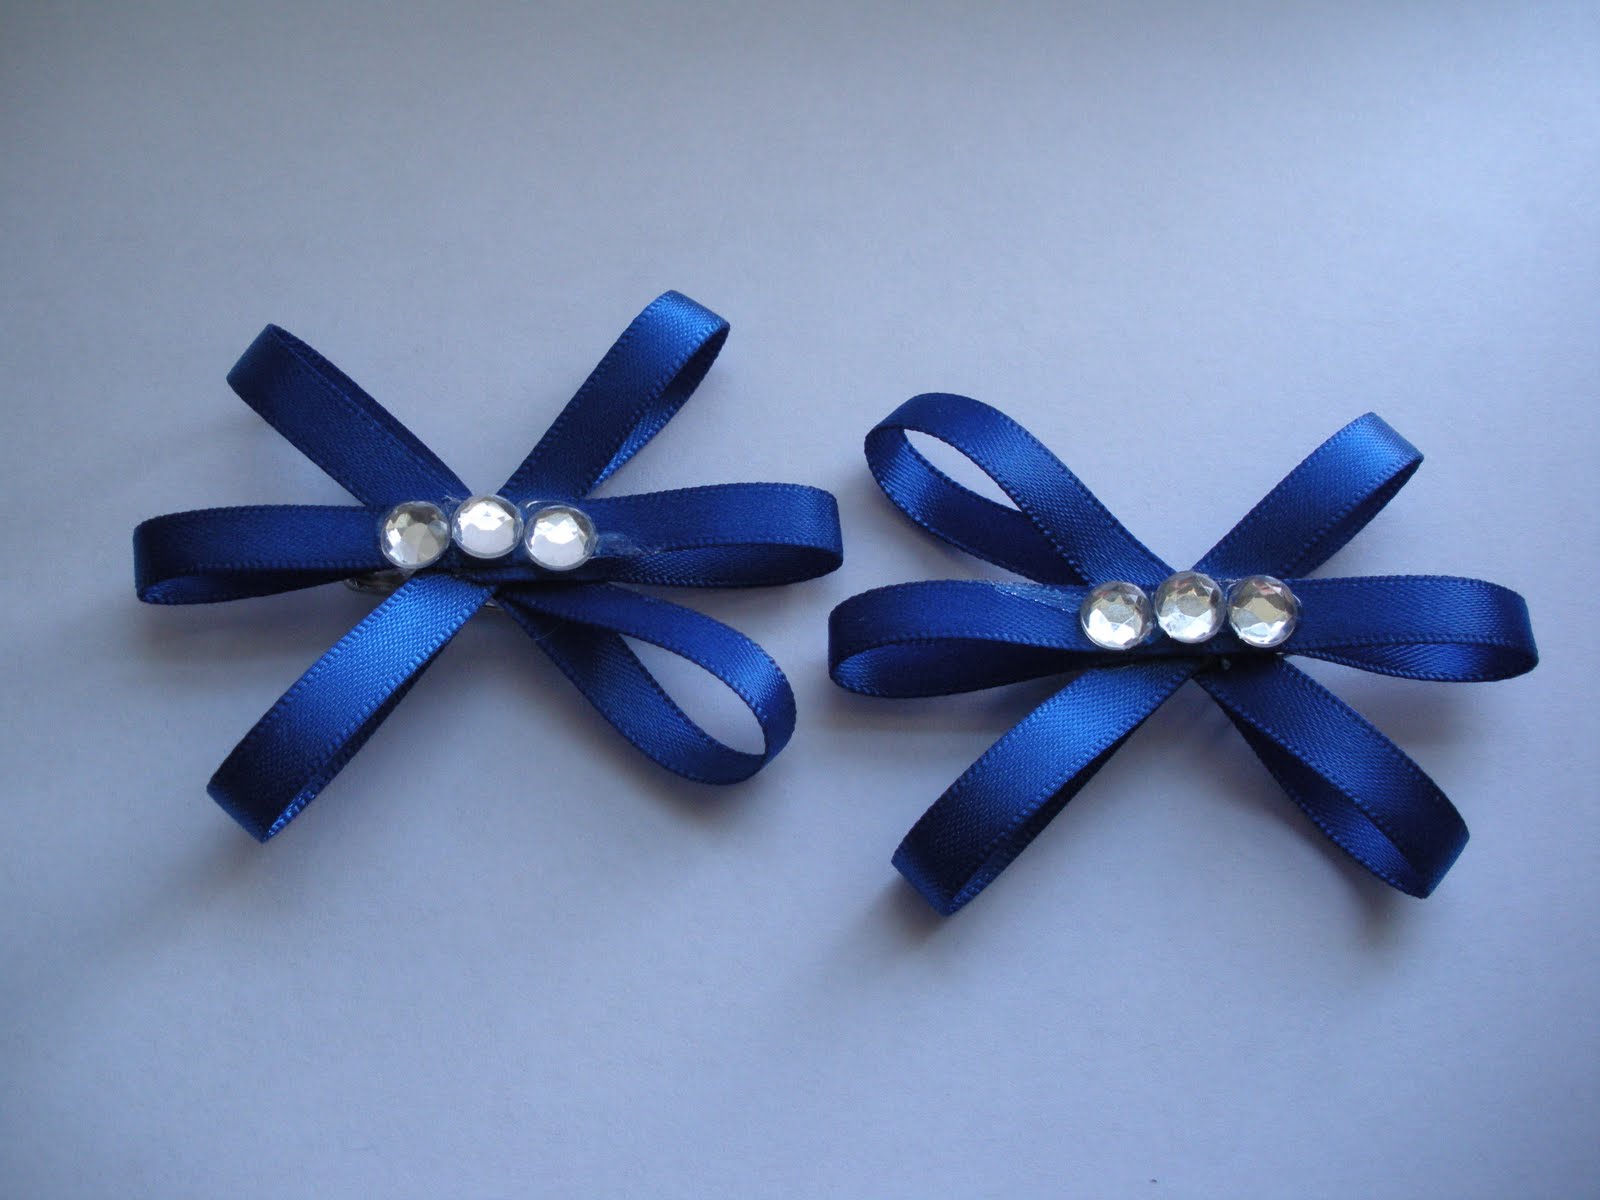
My 3 and 4 year olds danced to Bibbidi Bobbidi Boo. They had pink and mauve costumes, so I made little bows to be pinned to their shoes. These were made with two pieces of ribbon one smaller than the other. then I looped each piece and glued the shorter one on top and added a rhinestone for sparkle.

For my 9 and 10 year olds they danced to Red Robin. Their costume was sequined dress with a feather skirt. The feather head piece came with the costume so I added the mini veil to the feathers so their would be sparkle at in their hair. They are a bit old for shoe bows so I skipped those.

As you can see sparkle is very important when it come to a dance recital :)
All my classes did very well and everyone had a great time. It was a very successful recital!
Wednesday, April 6, 2011
Favorite dance
I love this dance, I know it is from a while back but it is just soooo good I had to post it. And i think there was no other dance that could be a better first dance post! Enjoy...
Blog Remodel
I am working on fixing up my blog so it is partially under construction. I am trying to figure out how to place blog buttons on my link Love page. Any suggestions?
Check back soon I have more projects that need to be posted!
Check back soon I have more projects that need to be posted!
Wednesday, March 30, 2011
Baking and Crafting
First I had to add a picture of the beautiful spring daisies. I Love Daisies!

A few weeks ago I had an itch to bake. So I spent my day making yummy treats that I really should not have eaten but had to because they were soooo yummy. :)

I made chocolate brownies, raspberry bar, and delicious strawberry cupcakes.

These cupcakes are Martha Stewart Strawberry Meringue cupcakes. So yummy but I recommend making only half a batch or having a plan on who you will be giving them away to because you will want to eat them all! I found these great gingham cupcake cups at Marshals and had to get them (they were kind of the reason for the baking spree!) With as cute as they are you can see why I had to get baking right away :)

Okay so now onto my so fun and exciting adventure in Freezer Paper crafting...
I got my instructions from another blog a while back and finally went out to buy the freezer paper and got to making my t-shirt. You can find instructions for freezer paper off of many different blogs but I believe I found mine from the blog "Made" I have a button on the side for her blog, definitely check it out.
Anyway a quick instruction of what I did:
1. Created the design on Word (I found the dancer image online and copy and pasted it into Word)
2. Print out your design, place Freezer Paper over your print out and either trace and then cut or use an exacto knife to cut out the image
3. iron the new stencil onto your fabric, shiny side down
4. paint, brush away from the stencil edge to prevent lifting it up
5. once your paint is dry peel off the Freezer paper and admire what you have done!
6. place a cloth over your paint and iron for about 30 seconds to set the paint


I love my new shirt and can't wait to make more!
P.S. Lesson in blogging learned today... flip pictures before you add them to your post or you will not be able to flip them unless you redo it (which i do not have the patience for)
Tuesday, March 29, 2011
Happy Spring!
Spring is finally here (although it is still a bit chilly)! It is time to get out the bright colors and get decorating. I have a huge list of crafts I want to make and decorations I want to buy for the house. Because we will officially moved in and living at our house the week of the 4th of July I decided the next crafts I do, if not for the house, will be 4th of July decorations. So hopefully those will be posted in a few weeks. But wedding crafts come firsts so we will see.
THE List:
THE List:
- Weathered Window Flag
- Welcome wreath
- Christmas Stockings
- Family wooden blocks
- Siloettes pictures
- freezer paper t-shirts
- step stool
- dress
- skirt
- belt
- floor pillow
- window valance
- Bedroom Fabric frames
- craft room
- key chain wrist loop
- Jersey knit bracelet
Subscribe to:
Posts (Atom)
